AI Image Prompt Guide: Write Clear, High-Quality Prompts

How to create an AI image prompt?
Creating a strong AI image prompt starts with clarity. Instead of a vague request, give the generator a complete set of visual instructions: what the subject is, what it’s doing, where it is, what it should look like, and how the final image should feel. When those pieces are specific, results become more consistent and closer to what you pictured.
Start with the subject and action
Lead with the main subject and a clear action or pose. Example structure: “A vintage motorcycle parked beside a roadside diner…” If there are multiple subjects, state their relationship and relative positions (foreground/background, left/right).
Define the setting and time
Add location, environment, and time cues: “rainy neon city street at night,” “sunlit kitchen in the 1970s,” or “misty pine forest at dawn.” These details control mood, lighting, and background elements.
Lock in style and mood
Choose an art direction such as “cinematic,” “editorial product photo,” “watercolor illustration,” or “3D render,” then add mood words like “cozy,” “dramatic,” “minimal,” or “whimsical.” If you want a specific palette, name it (muted pastels, high-contrast black and white, warm golden tones).
Specify composition and camera cues
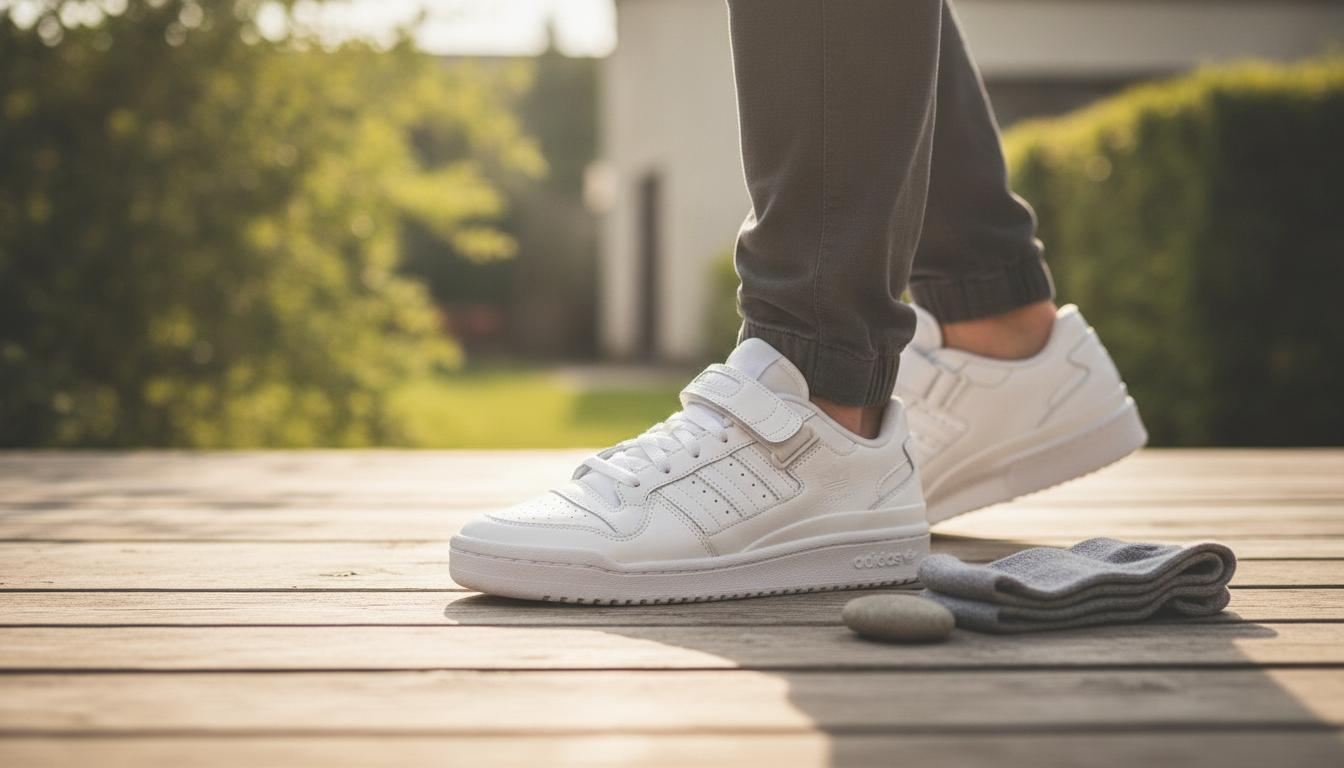
Composition helps the system frame the image: “close-up,” “wide shot,” “top-down flat lay,” or “centered portrait.” Photography-style cues can also help: “softbox lighting,” “shallow depth of field,” “sharp focus on subject,” or “bokeh background.”
Add constraints (what you don’t want)
If unwanted elements keep appearing, list exclusions in plain language (no text, no watermark, no extra limbs, no cluttered background). Keep exclusions short and targeted so they don’t overpower the main instructions.
For more examples and a step-by-step breakdown, visit https://coolwaresplaza.shop/how-to-create-an-ai-image-prompt/.
FAQ
How do I get consistent characters across multiple images?
Reuse the same core description every time (age range, face shape, hair, clothing, and signature accessories), then only change the scene details. Keeping composition and lighting notes similar also improves continuity from image to image.










Leave a comment